Ready to get started?
The Best Time To Plan An Interior Design Project
NOT SURE WHERE TO BEGIN?
SCHEDULE YOUR INSPIRATION CALL
free guide

Welcome to our captivating world of 'All things Design & Home Furnishing'! Whether you're seeking expert design advice or love immersing yourself in beautiful spaces, this blog is your go-to destination. Stay updated on the latest trends, discover our top picks, and receive valuable design tips to style your home like a pro. We take pride in sharing insights on design concepts and materials and showcasing our handpicked favorite products that you can conveniently shop directly from our page. Join us on this exciting journey to create enchanting living spaces!
Let's socialize!
BIG Wall? Add Inspiration By Creating a Gallery Wall
Gallery walls bring uniqueness to a home. They are timeless and no two are alike. Gallery art walls can make your house feel like a home because they bring that sense of who you and your family are. So many things can be incorporated into your wall like photographs, illustrations, paintings, 3-dimensional pieces, and wall hangings. Have a big wall to fill and are not sure what to do with the empty canvas? Create inspiration with a gallery wall.
Building out a gallery art wall could feel like a daunting task. If you have been curating your pieces for a while, you might have several pieces. The first thing to remember is that gallery walls can be any style and fit any space. They can grow as needed and when organized, they can feel modern, formal, and even eclectic. We laid out some of the best tips and strategies when creating a wall that is curated and reflects your sense of style, travel, and memories.
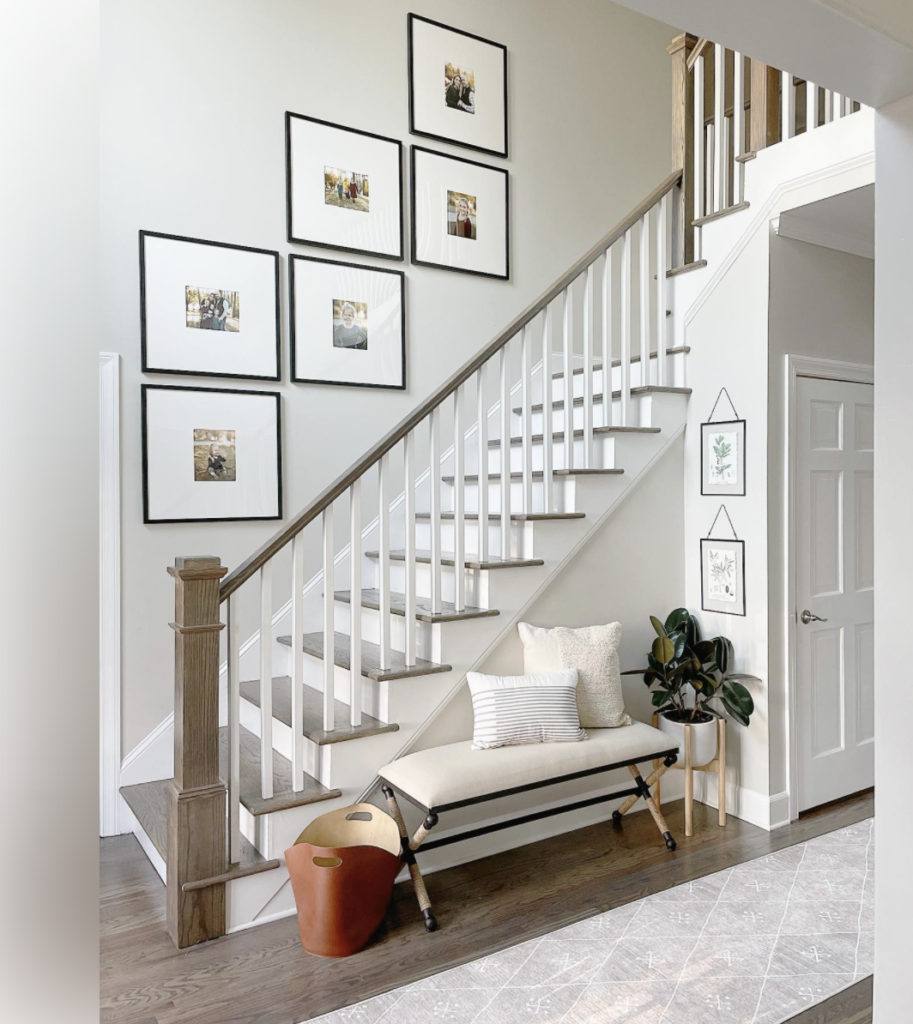
Pick The Palette
If you haven’t started selecting the pieces for the art wall, think about the look that you are going for. The palette for the art can be a variety of colors, monochromatic, or an eclectic mix. This is your chance to showcase the art pieces in whatever shades will fit in with the room. The artwork can blend in with the design or be the focal point of the room.
Next, pick the frames for the framed art or pictures. They can be all of the same finish for a more tailored design or mix and match for a more curated feel. Distressed frames give a traditional or antiqued look. White or neutral frames are perfect for coastal or boho designs where black or gold frames fit contemporary or modern interiors.
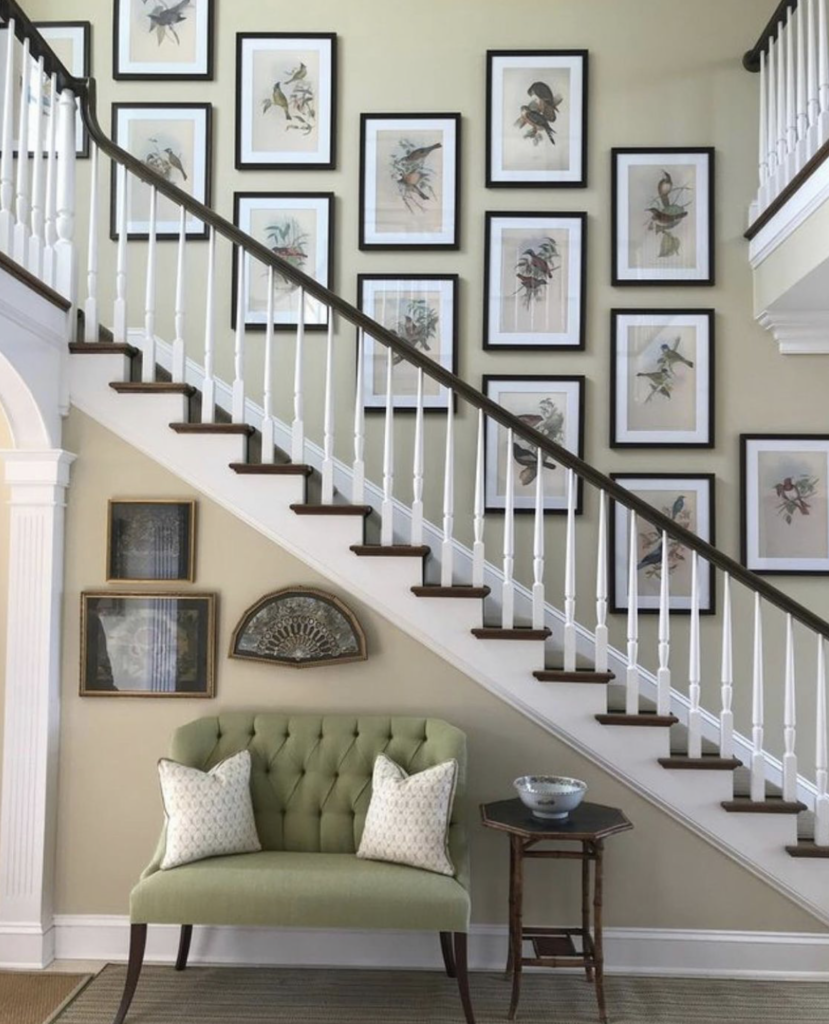
Play With The Design
Now for the fun part! Measure the wall so you know how big the space is. Think about the placement of each piece and choose the pieces that you want to stand out. Next, choose the layout for the display and then use painter’s tape to create an outline on the wall to use as a guideline. Here are some of the basic layouts to consider:
- Square Picture – Form all of the art into a large square or rectangular shape. The art can be of various sizes but they all form a large square shape on the wall. This is a great option if you are fitting your art wall within wall moldings.
- Symmetrical – This is a very clean look where typically all the pieces are evenly spaced and laid out in a repetitious pattern or rows. This design is great for traditional or modern designs and tends to be more formal.
- Top Aligned – All of the pieces can be of various sizes but they hang from the same height.
- Bottom Aligned – All of the pieces are lined up along the bottom of the wall. This is a great option if the gallery art wall will be placed above a piece of furniture like a dresser, bench, or sofa. It’s a rule of thumb to leave a minimum of eight inches from the furniture to the bottom of the frames.
- Split – You can play with the layout like with a horizontal or vertical split where all of the pieces are split by a single line or space. All of the pieces come off of that line in various sizes, heights, or widths.
- Corner Photo Wall Layout – Get creative and take your gallery art wall around a corner onto another wall. This is a flawless design for a cozy nook or a large room where you are trying to fill up wall space.
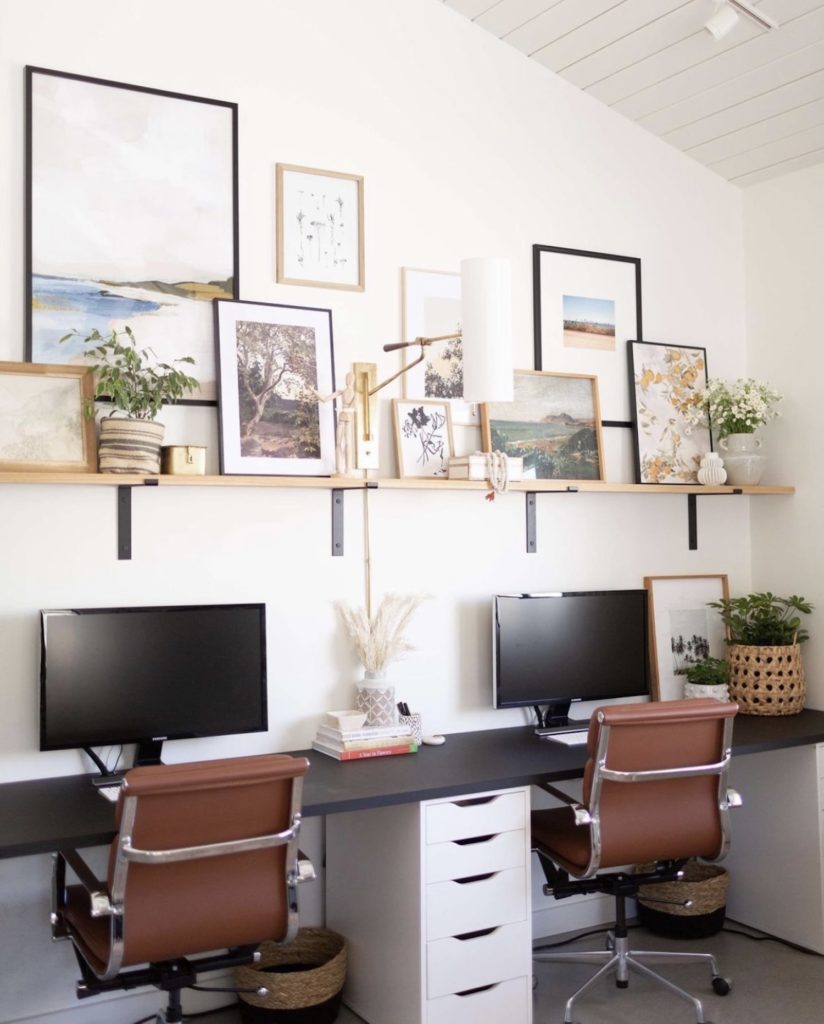
Lay It All Out
Now that you know the design, the best way to see what it will look like is to lay it all out on the floor. From here, play with the pieces to see how they interact with one another. Move them around to fit into the layout design. There are so many options on figuring out how the design will look like on the wall, here are a few:
- Mix vertical and horizontal pieces.
- Keep all of the pieces evenly spaced.
- Don’t be afraid to incorporate a mini-collection within the large gallery. Place smaller pieces in groups of 2, 3, or 4.
- Stand back and look at the arrangement then snap a few pictures of different layouts to pick your favorite.
- If your design is bottom aligned, use painter’s tape on the floor to keep all of the pieces lined up.
- Paper or cardboard templates are your friends! Trace the pieces to create templates to stick right onto the wall. That way you can know the actual sizes and where your nail holes need to go. The paper is easy to move.
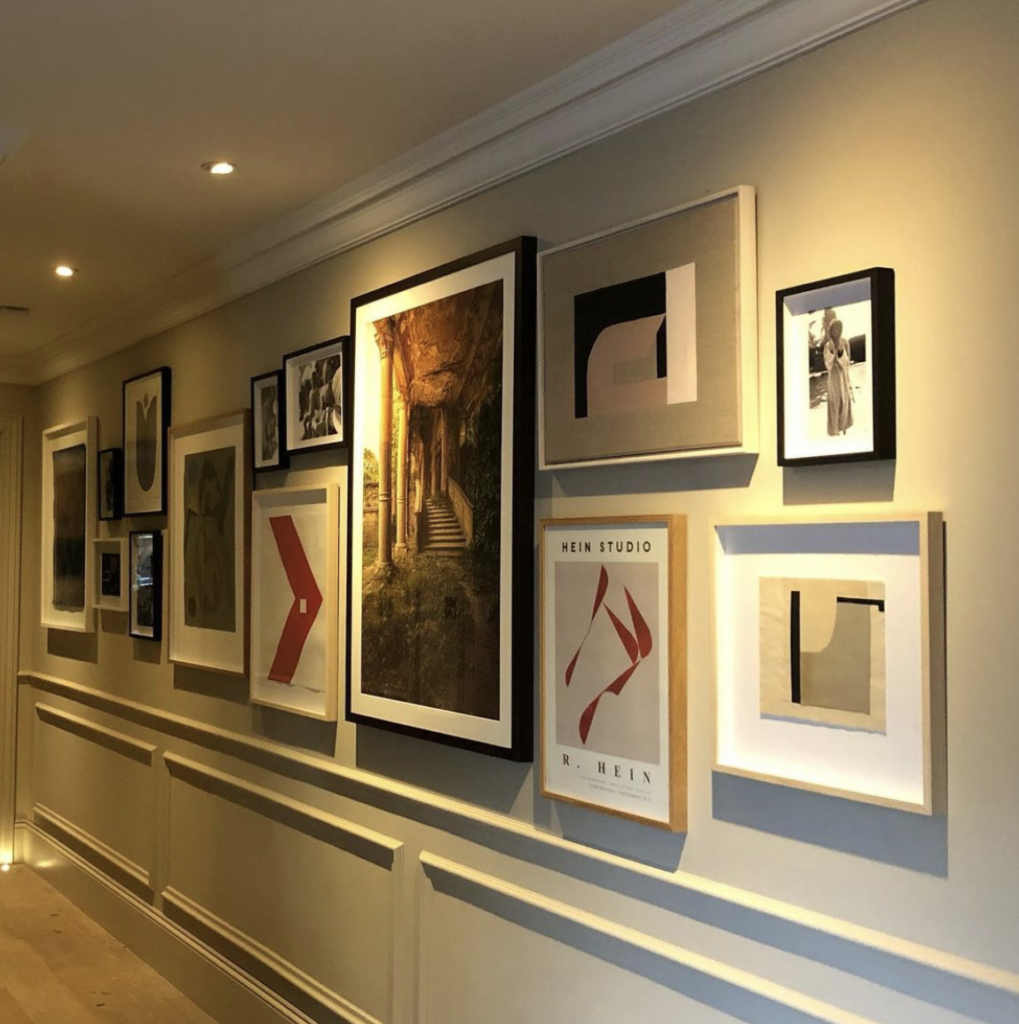
Start Hanging
Utmost advice…measure twice, hang once.
Invest in picture hooks and wire for large pieces and have a pencil, level, and ruler handy. Measure and mark the pieces and if you used the paper cutouts, nail them directly onto the wall, then tear them down once the nails or hooks are in place. Place the largest piece first or start with one row at a time if you are creating a rhythmic pattern.
Creating a gallery wall is fun and creative. It is a statement about your style and it can be a way to document your life and travels. All of your distinctive pieces have a place on your wall from photographs to original artwork and canvases. If you have been curating your favorite pieces and want some direction on how to make your gallery art wall, contact Gracious Home Interiors. We would love to find the perfect layout and place for all of your favorite art pieces.